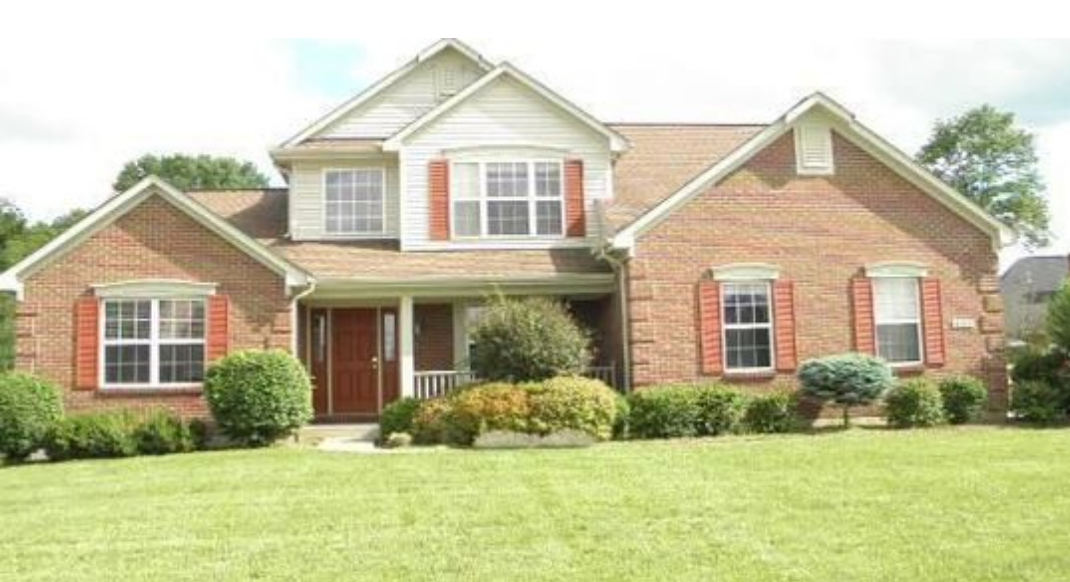
Have you ever thought “This is a great idea…I have a plan, therefore I’m going to figure it all out” but once reality hits, your thought pattern immediately shifts to “what did I get myself into?” Guilty! That’s us. You see, looking back on the renovation process of our current house, while lengthy and painstaking at times, it didn’t feel all that awful. It was a little uncomfortable for awhile (ex. living on subflooring for months), but nothing that we couldn’t do again, right?
Airplane-sized master bath
While we were up at Gabe’s parents house for a few days after we closed on the house, they fortunately let us borrow their utility trailer, so we brought it back with us to start moving some of our things into the new house and take construction materials back and forth. Of course when big life changes happen (like buying a house) they happen at the most convenient times…like right before Christmas! I would help Gabe as much as I could in the next few weeks, but I still had to “mom” and get ready for Christmas, unpack, repack, take care of two sick kids…the list goes on…and on. As soon as we returned, we immediately got to work on demo.
Downstairs half bath with awkward wall and soffit
Upstairs hallway…so much green carpet!
Our very green sitting room
Mostly everything in the house had to go. The cape cod-style house was built in 1982, so it was very dated. The bones of the house were good, but we wanted to gut everything and open the floor plan so we could start with a fresh canvas. In addition, we wanted to add some square footage to the living room by converting the existing garage into living space to expand the living room area, as well as add a mudroom and office with the converted garage space. The existing floor plan was pretty segmented, so by opening some walls, adding extra support, and adding additional living space, we could make the house work well for our family, especially since it sat on two fully usable acres. There was old, green carpet, linoleum in the kitchen, dated tile in the bathrooms, and lots and lots of wallpaper throughout the whole house.
Step one was removing the carpet, padding, linoleum, and jackhammering up the bathroom tile. Sounds pretty easy, right? Well, as anyone who has done any type of reno project knows, there are always unexpected things that come up. Upon taking up the carpet and padding, we were hoping to discover OSB board in decent condition that we could lay hardwood over. Unfortunately, we found particle board glued to the subflooring and nailed into the joists instead of OSB board. Hardwood flooring cannot be laid on top of particle board because the particle board won’t grip the nails and because of risk of swelling if the particle board happens to get damp. In the 80’s, using particle board under carpet was a much more cost-effective alternative to pricier OSB board. For us, this meant that we had to remove the particle board and lay down new OSB board before we could install hardwood. This slowed down the demo process quite a bit because it took us several days to cut and pry the particle board up.
tearing up concrete board under tile
Once the tile in the foyer was jackhammered up, we were hoping the bathrooms would be as easy as the foyer. We were initially trying to save the concrete board under the tile to help speed up the installation process, but we discovered a few existing plumbing and toilet leaks so we took up the unusually thick concrete board, bathtub, and shower as well. No big deal…until we got to the downstairs half bath. There was an awkward little partial wall and a soffit that we took down. After we took out the tile, concrete board, and toilet, though, we discovered some mold in the corner on the drywall, so we removed part of the drywall. Upon further inspection, there was a hole all the way through the siding and you could see the outside! The previous owners had (unsuccessfully) tried to fill the hole with foam and cover the outside with tar paper, but it was apparent water and moisture had gotten in through the siding into the wall.
Hole in the siding where light is coming through
Particle board over subflooring
We were planning to reside the house anyways, but not until the spring, so we had to seal up the hole for the winter to prevent moisture from getting in and doing further damage. Off we went to Menards! We removed the tar paper put up by the previous owners and put up a tarp to cover the whole area and secured it with some nails, staples, and water-repellant silicone.
After that was done, we were back to demo inside. Moulding, baseboards, and trim all went in the trash, soon to be replaced with new. After the particle board and concrete board, were completely gone, another problem surfaced---the floor wasn’t level. Some of the joists in the basement had major crowns in them, forming high spots and dips in the subflooring on the main floor. If not fixed, this could create major problems down the line when we go to install the hardwood. Fortunately this wasn’t a foundation issue, just a joist issue. We’d have to remove some of the subflooring completely, plane down the joist, and reinstall the subfloor. Aside from those two issues, demo was going pretty well so far. We just had the kitchen and wallpaper removal left to go, then we could start constructing!


