I can finally say it…(the major) demo is OVER! It seemed like it was never ending at the time, but it’s a wrap! I am SO HAPPY I could cry. We still have a few minor things that will need to be demo-ed, but nothing that requires hauling trailer loads of gutted house junk to the dump. Praise the LORD!
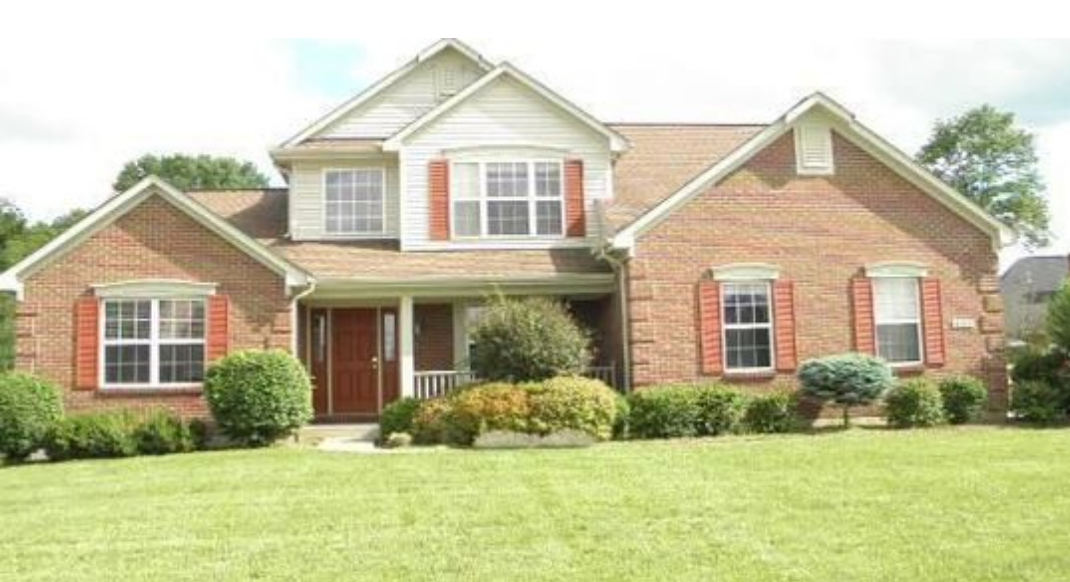
In our house search this go-around, Gabe and I settled on several non-negotiables…a good school district, in Boone County, at least 2 acres of land, easy freeway access, the possibility of city water (if the house didn’t already have it—I’ll explain this later), at least 4 bedrooms, aaaand that’s really it! The rest, we figured we could add on, rebuild, or fix. Affordable acreage is difficult to come by in Boone County, especially with a decent house on it, so we knew whatever we bought would definitely be a fixer, but that’s actually what we wanted most. We loved fixing up our current house (although pre-kids and mostly cosmetic), and we wanted to do it again, just on a grander scale. And here we are…we bought ourselves a dilapidated, early 80’s, craftsman-style mother of all projects, that I am frequently reminded will serve as my Christmas/Birthday/Anniversary gift for at least the next 10 years because I’ll be darned if it isn’t just the gift that keeps on giving!
Before we purchased the house, we had several living space concerns that had to check out, or we’d have to say sayonara to this house and move on to the next. Our chief concern was the compartmentalized current floor plan. We love the functionality of open concept floor plans, and this house was anything BUT open. (Then why buy it? –I know, right?!) Enter: my crazy ideas and vision.

Existing 12'x20' Living Room
From the time we laid eyes on the house, we knew we loved it, no matter what the inside was like. Of course things had to make sense on the financial side, but as it turns out, it had a great footprint, which was the primary concern. On our first and only walkthrough of the house with our ever-so-patient realtor, we tried to identify load-bearing walls, potential points where we could open up the floor plan, and if/where we could add on. We found several places that we could create openings and walls we could remove to alleviate some of our space concerns. This also meant we were in for some major structural, electric, and plumbing work. The existing floorplan had a small living room, partially enclosed kitchen, awkward pantry/mudroom area, and a large attached garage. It also had a sitting room (unnecessary for us), first floor master bedroom (major bonus—something we currently have and we didn’t think we’d be able to find again!), a nice sized dining room, and a 2-story foyer.

Existing 20’x20’ Attached Garage
With the existing attached garage on the other side of the living room wall & sharing the same roof line, I envisioned creating a large, open living room and kitchen space by removing the wall dividing the garage & living room, raising the floor, and removing the partial walls between the living room and kitchen. I also had a few other ideas for removing additional walls and adding openings, doorways, and a few other functional spaces that could really help us maximize the floorplan.
In my next post, I’ll talk all things space planning and how I developed the floor plan for our new living room area!